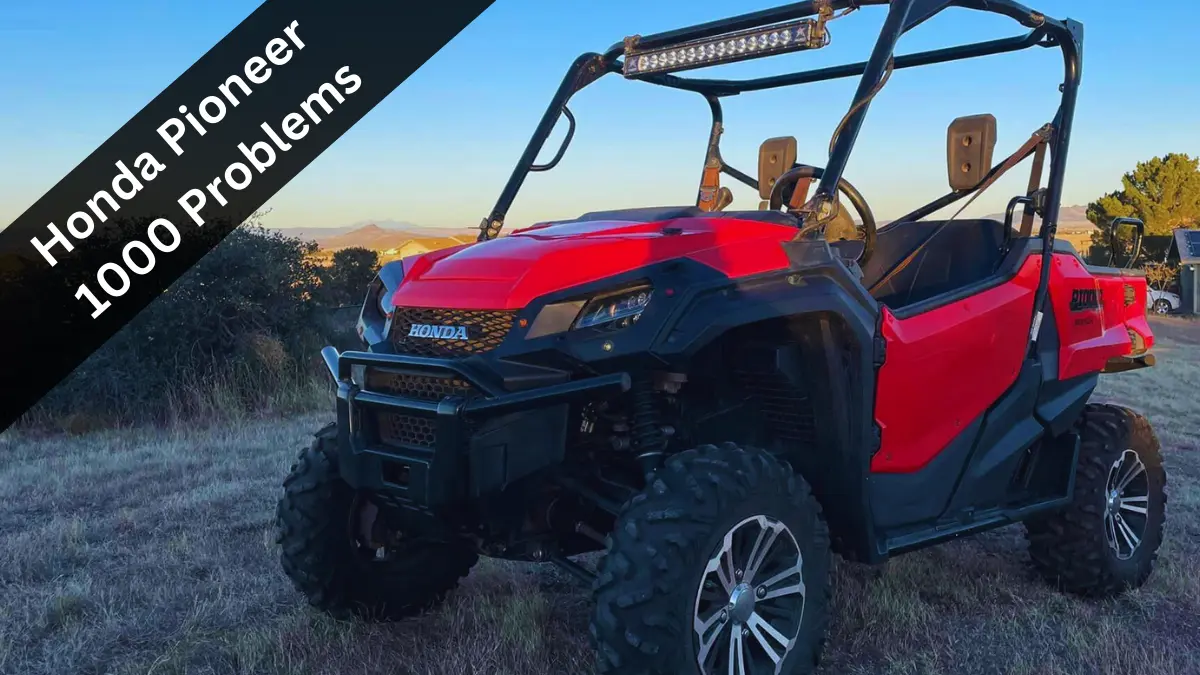
Honda Pioneers make the list of best UTVs for the money year after year.
The Pioneer 1000 is the biggest and most powerful in the line, and may surprise you in that it’s currently the fastest utility side-by-side on the market.
But a review of the Honda Pioneer 1000 highlights that while it has many strengths, you may be surprised to find out it has a number of drawbacks as well.
Some of these drawbacks come in the form of seven common problems that tend to recur in these models, including:
- Seats and cab get too hot
- Trouble shifting gears
- Jerky acceleration due to clutch/belt slipping
- Cargo bed stuck in down position
- Front bench seat ripping apart
- Fuel pump recall
- Electric power steering failure
This guide will take a closer look at each problem, along with causes and proven fixes for all of them.
Seats & Cab Get Too Hot
Similar to one of the main problems with the Pioneer 700, the Pioneer 1000’s cab and seats tend to heat up and make riding uncomfortable, especially during summer months.
Heat from the radiator vents into the cab, and heat from the engine warms the undersides and backs of the seating.
This’ll come in handy during cold months, but if you don’t want to ride around in an oven during warmer days you’ll need to make some slight modifications to beat the heat.
Fixes
Heat Shield
The best way to address the cab and seat heat is to install a heat shield under and behind the seating.
Design Engineering makes the DEI Heat Shield specific to the Pioneer 100 model, and it fits perfectly up under and behind your seats to repel the heat by around 75% which makes a huge difference.
You can also rig up a heat shield on your own, but the shield above will make the most difference and fit the best.
Remove Side Doors
Not ideal, but removing the side doors from your Pioneer 1000 during the warmer months will increase air circulation and make the cab much cooler.
Under Seat Automotive Fan
Grabbing a simple and inexpensive automotive fan and installing it under the seats is another way to increase the air circulation and cool down the cab/seats.
Trouble Shifting Gears
The most common issue you may experience as a Pioneer 1000 owner is trouble shifting gears, including:
- Gear shift sticks and won’t easily move into another gear
- Unable to shift to a certain gear in manual or automatic modes
- Manual paddle shifts not working right
- Slipping out of gear at high RPM levels
Fixes
There are a few proven ways to alleviate these shifting issues, which can fix these problems in the Honda Pioneer 520 as well.
More Oil In The Dual-Clutch Transmission
The most common cause for these widespread shifting issues is a lack of oil in dual-clutch.
A review of the most popular Pioneer model shows they are unique in that they make use of an automotive-style transmission without a drive belt.
But like any transmission, it needs oil to function right and the oil can sometimes work its way out of the clutches, causing the gears to stick when trying to shift.
If your Pioneer has both automatic and manual modes, you can overcome this by getting the RPMs up high in first gear and then quickly taking your foot of the gas.
At the same time you remove your foot from the gas, use the paddle shifts to manually shift up into second gear and hold the paddle shift in place for a few seconds after doing so.
Do this a couple of times, and oil should find its way back into the clutch and fix your shifting problems.
Five-Minute Warm-Up
Letting your Pioneer 1000 warm up for about five minutes before driving it should help to get the oil flowing as well and minimize any shifting issues.
Check Oil Levels
If you find your Pioneer 1000 is slipping out of gear, check your oil level to make sure there’s enough.
If the oil level is low, the wet clutch has a tendency to slip.
Changing your oil may help overcome this problem, and its a best practice in the Pioneer models to overfill the oil slightly when changing it.
Clutch & Belt Slipping
The automotive style transmission and dual-clutch set-up have their advantages over your traditional CVT transmissions, but do run into issues of their own.
The most common clutch issues you’ll run into are:
- The belt slipping and not catching upon initially accelerating, causing jerky acceleration.
- The hard shifting mentioned above
Clutch Adjustment
There’s a clutch adjustment screw that you can modify on the Pioneer 1000, which many times will help overcome any slipping or hard shifting.
Follow these steps to adjust the clutch properly:
- Locate the clutch adjustment screw under the seat.
- Use a 14 mm box-end wrench to loosen the nut that holds the screw in place.
- Once loosened, use a short slotted screwdriver to turn the adjustment screw clockwise a full turn.
- After doing this, begin turning the adjustment screw back counter clockwise until you feel resistance.
- When you feel resistance, turn the adjustment screw back clockwise again around a quarter-turn to a half-turn.
- This should be the general setting for the Honda Pioneer 1000 clutch, and you can go ahead and tighten the nut back into place.
If this does not fix the shifting issue initially, try readjusting a bit following the same steps.
Cargo Bed Stuck In Down Position
The Pioneer 1000’s rear dump bed comes with gas assisted lift to help make dumping cargo easy.
But occasionally the dump bed will get stuck in the down position, and will not release upwards to dump when you pull one of the latches.
This problem is quite common, and occurs due to the latch underneath the vehicle that holds the dump bed in place while folded down in its usual position.
The latch underneath has two latching mechanisms on either side, both which are fitted with plastic bumpers or tabs that fit over them and serve to release the latch.
These tabs are prone to vibrating loose and falling off over time, and when this happens, the latch under the dump bed will not release properly and the dump bed will be stuck in the down position because your Pioneer “thinks” the rear seats are still up.
Fixes
You’ll need to either find and order a replacement plastic bumper, or fashion on yourself.
You can make one yourself by using three-inch rubber hose, cutting about an inch of it off, and sliding that offer the latching mechanism under the bed to take the place of the bumper that has fallen off.
This will have your dump bed working again properly in no time.
Front Bench Seat Ripping Apart
If you have a Pioneer 1000 made before 2021, there’s a good chance the front bench seat will start to come apart at the seams.
This ripping apart happens on both the driver and passenger side, right in the middle of the bench seat.
Honda upgraded these seats around the 2021 timeframe, so newer models should be fine.
If you’re under an extended warranty, most of the time a replacement seat should be covered by Honda.
Fixes
For those who experience this problem and are not under warranty, or for those who want to get ahead of the problem, here are your two best options.
First, you can purchase a new 2021+ OEM bench seat from Honda.
But the cheaper option is grabbing a Kemimoto Pioneer 1000 seat cover from Amazon, which once installed will prevent your bench seat from separating.
These fit perfect and come with the added benefit of cutting down on the back and butt sweat caused by the stock vinyl bench seats.
Fuel Pump Recall
In 2020, Honda put out a Service Bulletin announcing it was launching a product update campaign (a nicer way of saying “recall”) on some 2019 Honda Pioneer 1000’s due to faulty fuel pumps.
These fuel pumps could malfunction, causing the engine to stop running or not start. For qualifying machines, an updated fuel pump can be installed free of charge until 2030.
But more than just owners of the 2019 model have reported encountering issues with the fuel pump in their machine.
If your Pioneer 1000 can’t reach its top speed or is lacking in acceleration over time, or is running rough while at idle, you likely have an issue with your fuel pump.
Fixes
You can test it by removing the hose from the fuel pump and turning on the ignition to see if it sprays out fuel like it should.
The problem may also be your fuel pump relay, so check that as well. If it’s corroded, the relay may be the problem and not the pump itself.
Electric Power Steering Failure
During 2020 and 2021, Honda issued two recalls on the power steering of around 120K Pioneer 1000 and Pioneer 700 units.
This recall was on models sold between 2017 and 2020 equipped with power steering.
Some of these models had a defect where there was too much play in the steering due to a faulty Lower Steering Joint B, which could cause you to lose full control of the steering at some point.
Fix
Honda advised owners of all models in this range of years to have their dealers inspect to see if they would need to replace the Lower Steering Joint B or whether installing a yoke joint for the steering shaft assembly would be necessary to overcome any issues.
If you’re the owner of a 2017 – 2020 Pioneer 1000 and haven’t gotten this checked, it’s probably a good idea to do so. Honda should cover the cost for this under the recall.
Conclusion
The Honda Pioneer 1000 is one of the best overall UTV models money can buy, but does suffer from some common problems.
For more on the Pioneer models, check out this review of the Pioneer 520 and review of the Pioneer 500 before you go.


